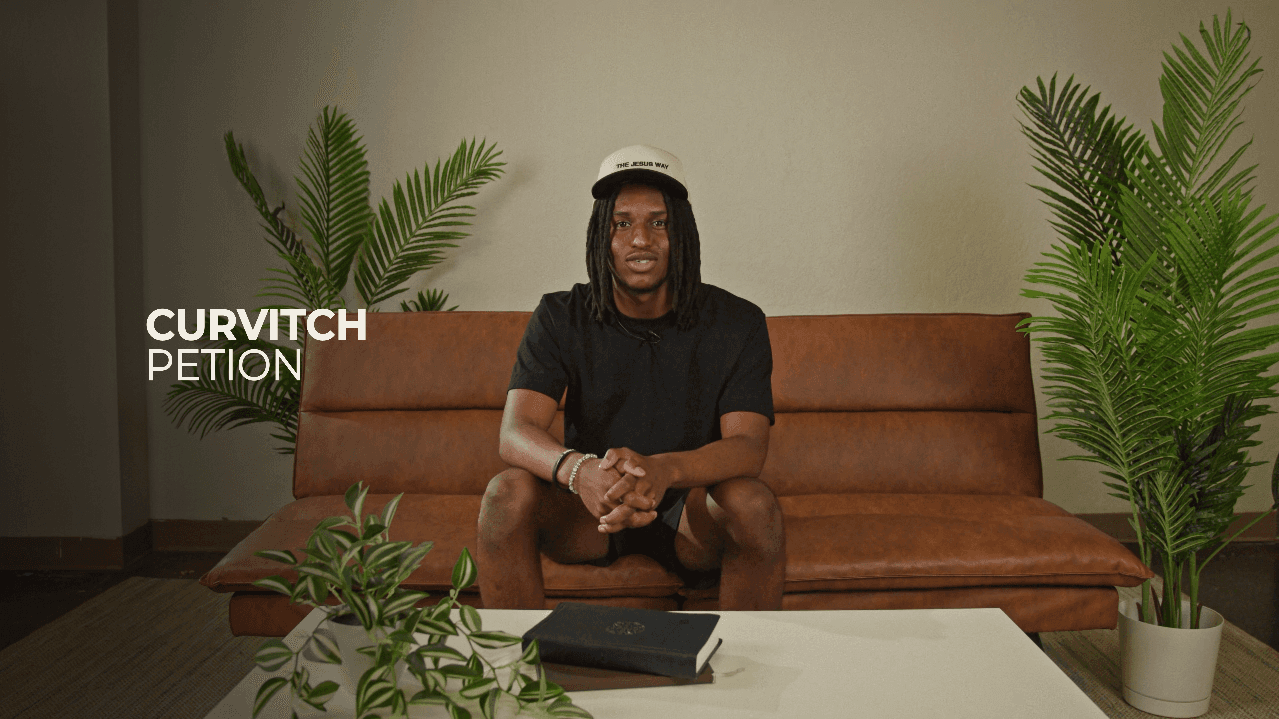
Timeline Assembly and Narrative Pacing
High School Camp 2026 – Moving from raw footage to a structured narrative timeline in DaVinci Resolve, where I focus on my multi-cam sync and audio tracking.
7 min read
Workflow Update

New: Assembly
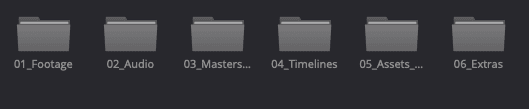
With the media organized, I move into DaVinci Resolve to begin the assembly phase. The primary goal I set is to craft the narrative. I start by building what I call a "radio edit"—focusing entirely on the dialogue and pacing, while ignoring the visuals for the time being. I stack my main, cleaned audio on Track A1, and drop in a foundational music bed (such as "from-the-earth-inola-musicbed.wav") on Track A2 to help me dictate the emotional rhythm of the testimony.
New: Multi-Cam
Once I have the story locked, I turn my attention to the video tracks. My standard timeline structure utilizes V1 for the A-Cam and V2 for the B-Cam. You can see this rigid structure in my timeline checks. By systematically chopping the B-Cam track to cover jump cuts in the A-Cam dialogue, I create a seamless visual experience for the viewer.
New: QC
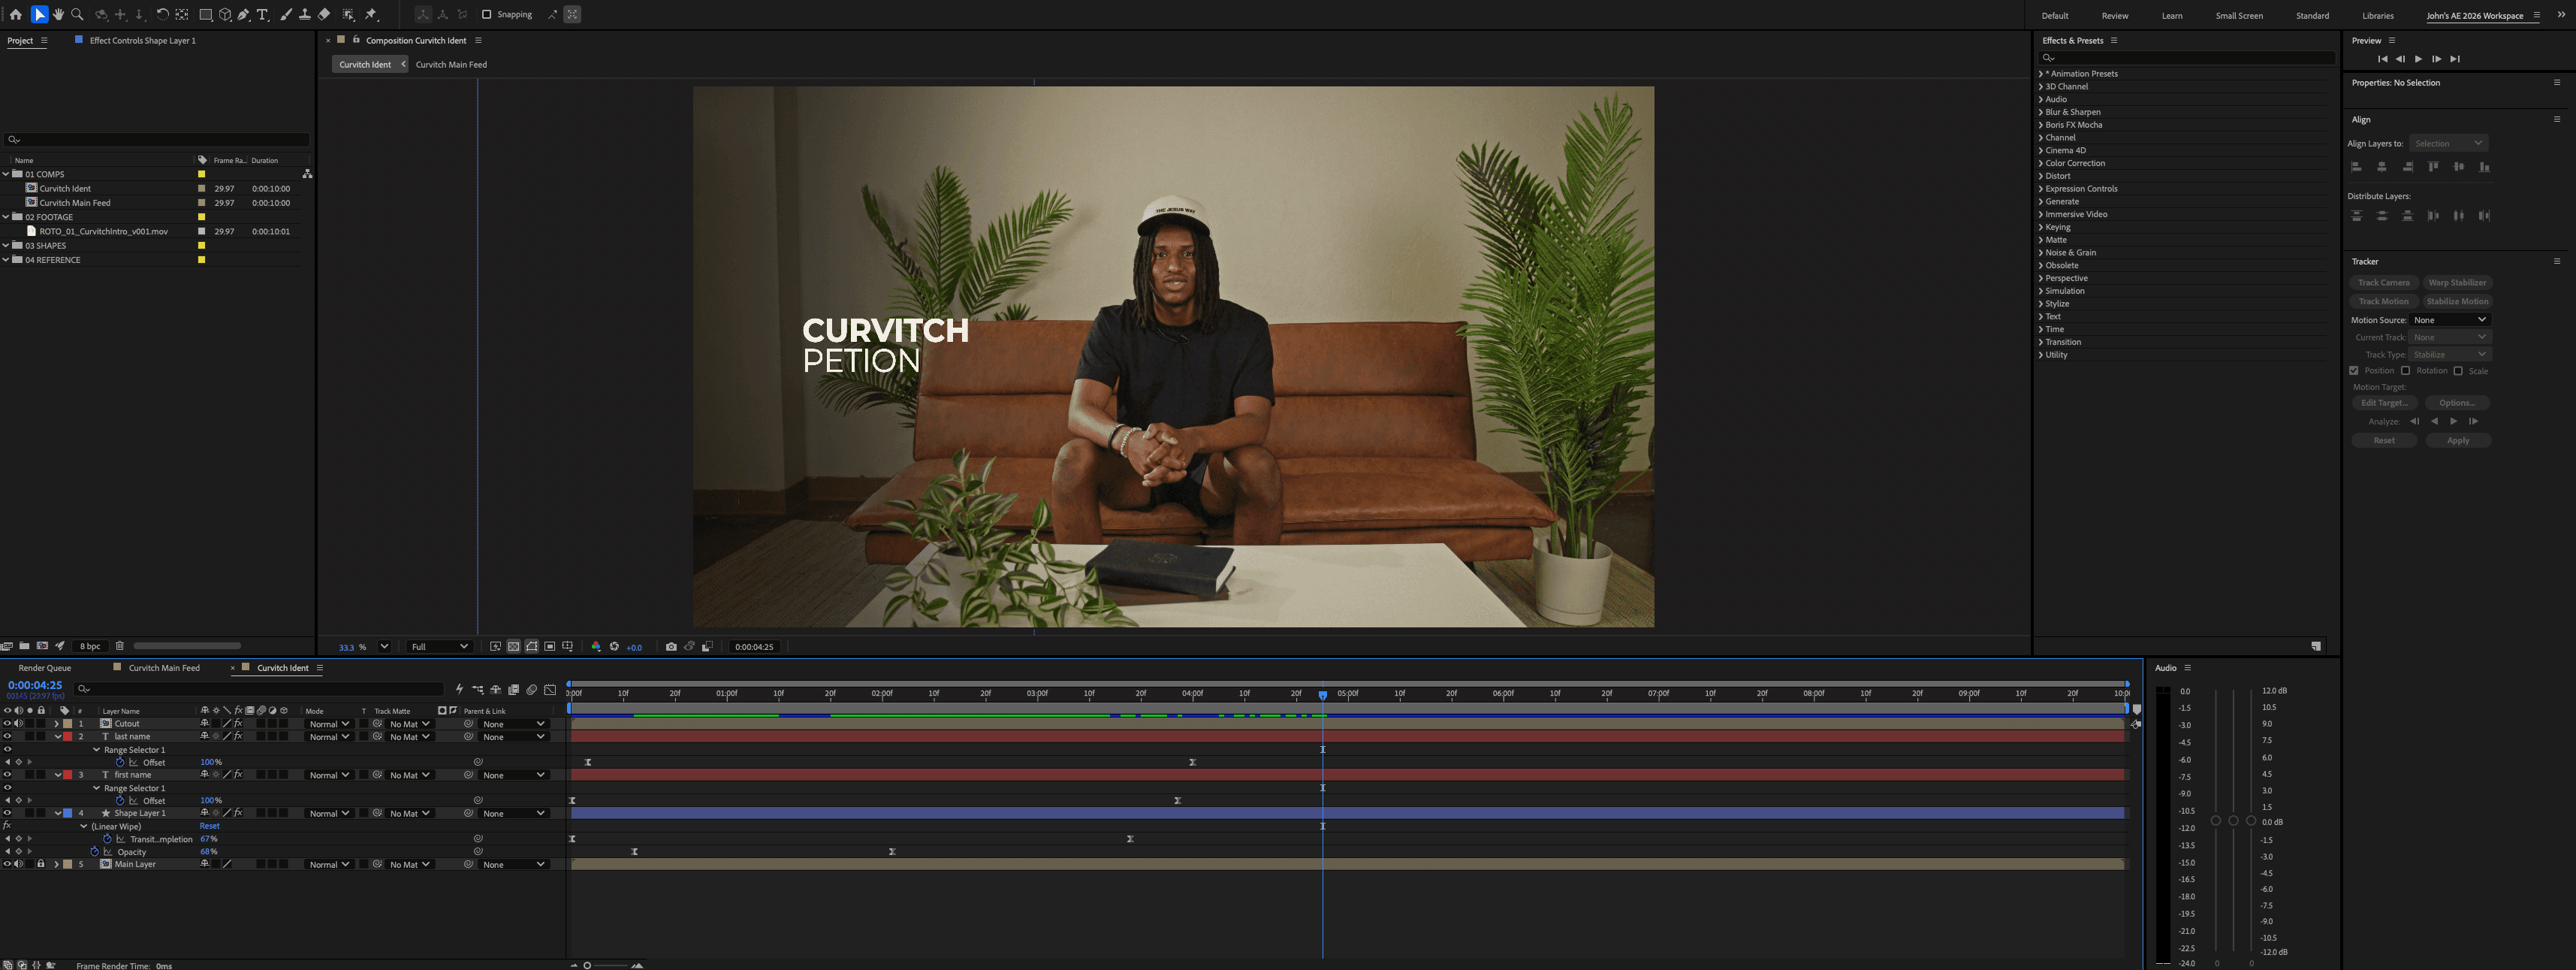
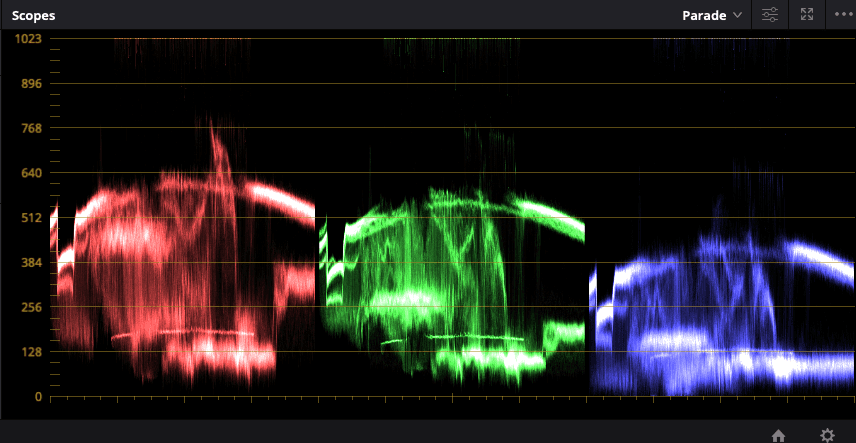
A crucial step in my quality control (QC) process happens on the top layers of the timeline. I dedicate the highest video tracks strictly to subtitles and graphical overlays. I also utilize colored markers across the timeline—blue for my audio cues, red for major visual transitions, and green for my final export markers. This visual roadmap allows me to instantly understand the structure of a sequence at a single glance.